Tuesday, February 16, 2016

How to install lollipop on Galaxy S2

[Disclaimer: This procedure is very technical and should be performed by a person with sound knowledge of rooting (or manual software installation) Android devices. If the step-by-step installation process is not followed properly, there are chances of the smartphone getting bricked or being permanently irreparable. I am not responsible for any damage or claims from readers if the procedure does not yield the required results or if the smartphone is bricked. Hence, users are advised to proceed with caution.]
Tutorial: Step-by-step installation guide of Dirty Unicorn Android 5.1.1 Lollipop custom ROM on Samsung Galaxy S3 GT-I9300-
Step 1: Download Dirty Unicorn Android 5.1.1 Lollipop custom ROM (HERE) and Google Apps (HERE) in to your PC.
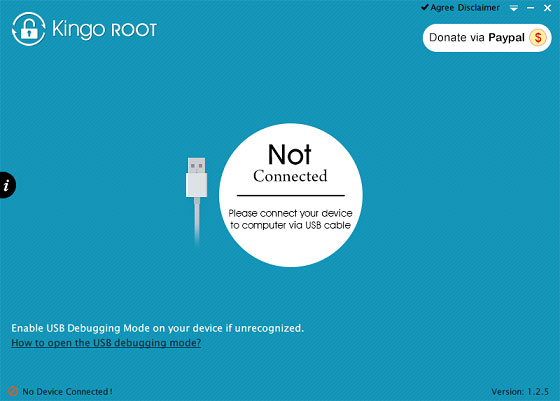
Step 2: Connect Samsung Galaxy S3 I9300 to the PC via USB cord.
[Note: Before plugging the phone to the computer, be sure that you have installed USB driver software, if not, click HERE to download the firmware]
Step 3: Place Android 5.1.1 Lollipop zip file and Google Apps .zip file into the phone's SD card memory [Note: Users are advised to paste the .zip file in SD card root, not in any other folder]
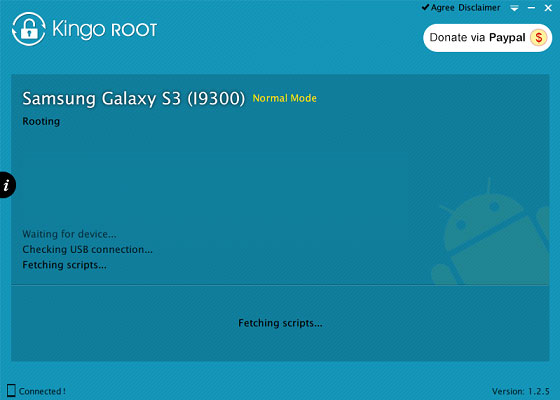
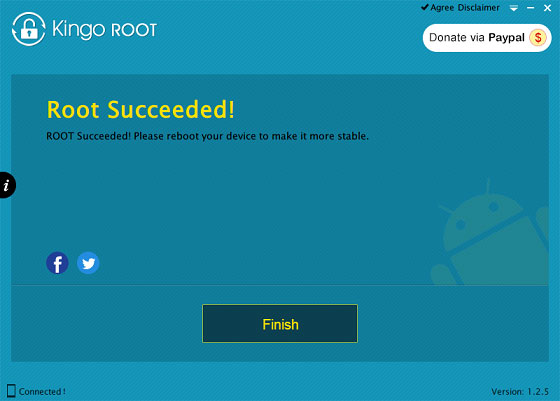
[Note: Before installing the custom software, ensure the device has been rooted and has ClockworkMod Recovery tool]
Step 4: Turn off the device and disconnect from the PC.
Step 5: Perform the regular Recovery Mode sortie by press holding 'Volume (up)', 'Home' and 'Power' buttons.
Step 6: After entering the RECOVERY mode, clear the phone memory, by choosing 'wipe data/factory reset' option.
[Note: use 'Volume' keys to navigate and 'Power' button to select options, while operating under Recovery Mode]
Step 7: Clear the cache memory by selecting 'wipe cache partition'
Step 8: Come back to ClockworkMod recovery, and select 'advanced' and tap 'wipe dalvik cache' [Note: This step is optional, but many recommend this procedure so that user will not face boot loops or any other errors in the middle of custom ROM installation]
Step 9: Come back to Recovery and Tap 'choose zip from sdcard' and go to Android 5.1.1 ROM .zip file in SD card and enter the installation process. Repeat same process for Google Apps
[Note: use 'Volume' keys to navigate and 'Power' button to select options]
Step 10: Once done with the installation process, navigate to '+++++Go Back+++++' and re-start the device by opting 'reboot system now' seen in the recovery menu.
Now your device (Samsung Galaxy S3 I9300) will take at a few minutes to complete the booting process.
Users can then head to Settings >> select About phone to confirm the installation of Dirty Unicorn Android 5.1.1 Lollipop custom ROM.
[Credits: Abdul Basit]
How to Root Samsung GALAXY S3 (I9300)

First you need to download following link. https://www.kingoapp.com


How to root GALAXY S3? I believe this is the question that Samsung users are keen on discussing. Thus finding a perfect tool for this job becomes the priority. Kingo Android Root is just what you need to root your Samsung GALAXY S3.
Free download Kingo Android Root and install it on your computer.
Make sure your device is powered ON.
At least 50% battery level
USB Cable (the original one recommended)

Enable USB Debugging on your device.


If it is the first time to connect, you may have to install device driver software. It should be done automatically. After successfully installing device driver software and enabling USB Debugging mode, your device should be well connected. And the interface will be shown as below.


NOTE: Reading the notifications carefully before jumping into the ROOT process. And if you are 
still not sure, click here for further information.


NOTE: It will normally take 3 to 5 minutes to complete. Once you started, do not move, touch, unplug USB cable, or perform any operation on your device anyhow!
Your device is now successfully rooted. And you need to click Finish to reboot it in order to make it more stable. Still, do not touch, move or unplug it until it reboots. Check your device and find out SuperSU icon, which is the mark of a successful ROOT.


One thing about Kingo ROOT that worth your attention is that there is the REMOVE ROOT function built in, which means you may use it to remove ROOT from your GALAXY S3 with just one-click as well, clean and simple. Click to see how to remove root from GALAXY S3.
Preparations:
Step 1: Find the desktop icon of Android ROOT and double-click to launch it.
Step 2: Connect your GALAXY S3 to your computer via USB cable.
Step 3: Click ROOT to start the process when you are ready.
Step 4: ROOT Succeeded! Click Finish to reboot your device.

Monday, February 15, 2016

Today we are going to learn something about our mobile phones.
There are several questions...?
Can i change my mobile Operating System.?
If i can change my mobile Operating System than how..?
So i m going to help you to learn how to replace your previous mobile OS using the following method.
First of all you need to know how to start the procedure to make possible change OS.
it's same like computer installation your need to boot your system and than install the windows in DOS mode.

So you need to know first what is Rooting?

Rooting (Android OS)


Samsung Galaxy Core Prime in download mode, ready to be rooted.
Rooting is the process of allowing users of smartphonestablets and other devices running the Android mobile operating system to attain privileged control (known as root access) over various Android subsystems. As Android uses the Linux kernel, rooting an Android device gives similar access to administrative (superuser) permissions as onLinux or any other Unix-like operating system such as FreeBSD or OS X.
Rooting is often performed with the goal of overcoming limitations that carriers and hardware manufacturers put on some devices. Thus, rooting gives the ability (or permission) to alter or replace system applications and settings, run specialized applications ("apps") that require administrator-level permissions, or perform other operations that are otherwise inaccessible to a normal Android user. On Android, rooting can also facilitate the complete removal and replacement of the device's operating system, usually with a more recent release of its current operating system.
Root access is sometimes compared to jailbreaking devices running the Apple iOS operating system. However, these are different concepts: Jailbreaking is the bypass of several types of Apple prohibitions for the end user, including modifying the operating system (enforced by a "locked bootloader"), installing non-officially approved applications via sideloading, and granting the user elevated administration-level privileges (rooting). Only a minority of Android devices lock their bootloaders, and many vendors such asHTCSonyAsus and Google explicitly provide the ability to unlock devices, and even replace the operating system entirely. Similarly, the ability to sideload applications is typically permissible on Android devices without root permissions. Thus, it is primarily the third aspect of iOS jailbreaking (giving users administrative privileges) that most directly correlates to Android rooting.